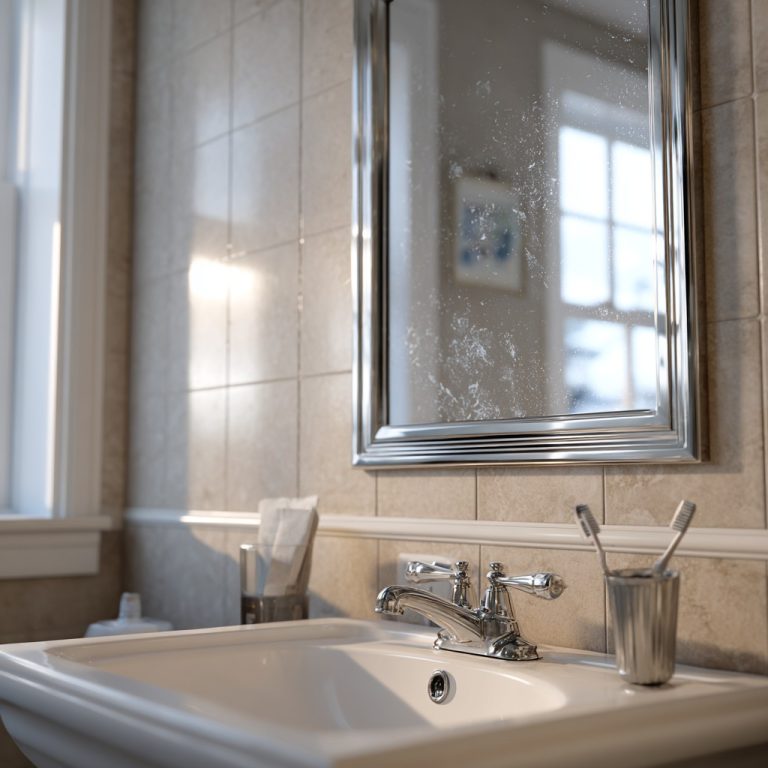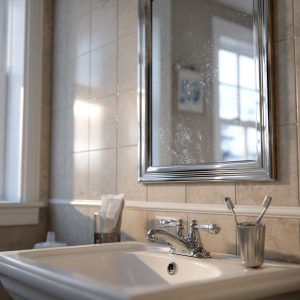
You notice it during a dark scene. Maybe it’s a moody crime drama, maybe it’s a nature documentary that just cut to a night shot, and suddenly the screen goes dark enough to reveal what has apparently been living on your television this whole time. Fingerprints. Smudges. A fine layer of dust that has somehow bonded with what you can only hope is cooking grease drifted in from the kitchen. A single, mysterious streak running diagonally across the lower left quadrant that you have absolutely no memory of causing.
You reach for the nearest thing – a paper towel, a t-shirt sleeve, maybe a wad of Windex-soaked tissue – and you go in.
Hi, I’m Bailey, and I’m begging you to stop right there.
Cleaning a TV screen incorrectly is one of the fastest ways to permanently damage an expensive piece of electronics, and most of the instinctive cleaning moves people make – the ones that work fine on mirrors, windows, and countertops – are genuinely harmful to modern display panels. The good news is that doing it right is just as quick and easy as doing it wrong. You just need to know the difference.
Why Your TV Screen Is Not a Window
This is the foundational misunderstanding behind almost every TV cleaning disaster I’ve encountered in other people’s homes, and it’s completely understandable. A TV screen looks like a smooth, flat, glass-like surface. Windows are smooth, flat, glass surfaces. It feels like the same category of thing. It is not.
Modern flat-screen TVs – whether you have an LED, OLED, QLED, or any other variety of acronym-forward display – have screens made primarily of soft plastic or thin glass coated with multiple delicate layers. There’s typically an anti-reflective coating, a polarizing filter layer, and sometimes an oleophobic coating designed to reduce fingerprint adhesion. These layers are what give your TV its picture quality, its contrast, its color accuracy, and its ability to not blind you with glare in a sunny room.
Every single one of those layers can be scratched, dissolved, or permanently streaked by the wrong cleaning approach. And unlike a window – where aggressive cleaning just leaves a smear you can redo – a damaged TV coating is permanent. There is no fixing it.
The Cleaning Products That Will Wreck Your Screen
Let’s be very direct about what to avoid, because this list surprises almost everyone.
Window cleaner – including Windex – is a hard no. The ammonia and alcohol concentrations in most commercial glass cleaners are formulated for actual glass, and they will strip anti-reflective and oleophobic coatings off a TV screen with alarming efficiency. Even “ammonia-free” glass cleaners often contain other solvents that are too harsh for display coatings.
Rubbing alcohol at full concentration is also out. Diluted, it can be used very carefully in specific situations – more on that in the cleaning steps – but the straight stuff used liberally is a coating’s worst nightmare.
Paper towels, tissues, and toilet paper all seem harmless but are genuinely abrasive at the microscopic level. The wood fiber content in paper products creates tiny scratches on soft screen coatings that accumulate over time into a permanent haze. That foggy, dull quality you sometimes see on older screens isn’t always age – sometimes it’s years of well-intentioned paper towel cleanings.
And please, under no circumstances, spray anything directly onto a TV screen. Liquid that runs down the surface and gets into the bezel or the edges can work its way into the electronics behind the panel. That’s a warranty-voiding, potentially screen-killing situation that starts with a simple over-spray.
The Screen-to-Screen Difference That Matters
Not all TV screens have identical tolerances, and it’s worth a 30-second check before you start.
OLED screens – the premium panels found in higher-end TVs from LG, Sony, and others – have the most delicate surfaces and the least tolerance for pressure or moisture. If you have an OLED, you’re going to be even more conservative with dampness and pressure than the already-gentle method I’ll walk you through. When in doubt, your TV’s manual or the manufacturer’s website will specify exactly what’s safe for your particular model. Most manufacturers now publish cleaning guidelines online, and for an expensive TV, that two-minute check is genuinely worth it.
What’s Actually on Your Screen (And Why It Got There)
Before the fix, a quick look at the culprits – because understanding the type of grime you’re dealing with helps you match the right approach to the job.
The Fingerprint and Skin Oil Situation
This is the most common and most visible category of TV screen grime, and it’s also the most resistant to a simple dry wipe. Skin oils bond to screen coatings in a way that dry microfiber alone can’t fully address, especially on fingerprints that have been sitting there for a while. They also attract and hold dust, which is why a heavily fingerprinted screen seems to get visibly dirtier faster than a clean one. Oil-based smudges need just a small amount of moisture to release properly – the key is using the right moisture in the right amount.
The Dust-Plus-Humidity Film
In a city like Baltimore, where summer humidity is basically a second weather system, airborne dust doesn’t just settle on TV screens – it settles and then gets lightly cemented in place by ambient moisture. This creates a soft, even film across the entire surface that makes colors look slightly washed out and detail look slightly soft. It’s subtle enough that most people don’t notice it until the screen is clean and they see the difference side by side. A regular dry dusting routine prevents this from building up, and it’s the single highest-return maintenance habit for TV screens.
The Right Way to Clean Your TV Screen
This process works for virtually every flat-panel TV currently in people’s homes, and it requires nothing you can’t find easily and cheaply. You need two flat-weave microfiber cloths – the same kind recommended for mirrors – and optionally a small spray bottle with distilled water. That is genuinely the whole supply list.
Step 1 – Power Down and Let It Cool (2 Minutes, Hands-Off)
Turn the TV off and, if it’s been on for a while, give it a few minutes to cool down. A warm screen causes any moisture you apply to evaporate unevenly and almost guarantees streaks. A cool, dark screen also makes every smudge and dust layer clearly visible as you work, so you can actually see what you’re doing.
Unplugging the TV is ideal – it removes any risk of static buildup during cleaning and means you’re working on a completely inert surface.
Step 2 – Dry Dust the Entire Surface (2 Minutes)
Take your first clean, dry microfiber cloth and, using very light pressure – lighter than you think you need – wipe the entire screen surface in slow, horizontal passes from top to bottom. The goal here is to lift loose dust off the surface rather than scrubbing it across. Light pressure matters because pressing hard against a flat-panel screen can stress the pixels behind the surface, and on some panel types – particularly OLED – repeated pressure in the same spot can cause long-term damage.
If you have a soft-bristle electronics brush, a very gentle top-to-bottom pass before the cloth works even better for dry dust. But a clean microfiber cloth used lightly does the job well on its own.
Step 3 – Address Smudges and Fingerprints (3 to 4 Minutes)
For fingerprints and oily smudges that the dry pass didn’t clear – and there will be some – lightly mist distilled water onto your second microfiber cloth. Not onto the screen – onto the cloth. The cloth should be barely damp, not wet. If you squeeze it and moisture comes out, it’s too wet. Wring it slightly and let it sit for 30 seconds until it’s just faintly damp to the touch.
Using the same light pressure as before, address smudged areas with gentle circular motions, then follow up with horizontal passes to even out the moisture. Work one section at a time rather than wiping broadly across the whole screen at once.
For stubborn smudges that plain distilled water won’t shift – dried food splatter from an enthusiastic movie night snack, for instance – a solution of distilled water with the tiniest amount of dish soap (one drop per cup of water, no more) applied to the cloth will handle most residue safely. Some manufacturers also approve a highly diluted isopropyl alcohol solution – around 70% alcohol mixed 1:1 with distilled water – but check your manual before going this route, particularly for OLEDs.
Step 4 – The Dry Buff (1 to 2 Minutes)
Before any moisture dries on its own and leaves water spots, switch back to your first dry microfiber cloth and do a final light buff across the entire screen in horizontal passes. This lifts any remaining moisture and solution residue, prevents water spotting, and gives you the uniform, clear finish you’re going for.
Check the screen from a slight angle in good natural light or with a flashlight held obliquely – the same raking-light trick from the mirror article – to catch any remaining streaks before you call it done. Any lingering spots get a tiny additional dab of the damp cloth followed immediately by the dry buff, and you’re finished.
Keeping the Screen Cleaner, Longer
The honest truth about TV screens is that dust is relentless and fingerprints are inevitable, especially in households with kids or people who apparently cannot watch television without pointing at things. Maintenance beats deep cleaning every time.
A 60-second dry microfiber pass once a week – just light dusting, no moisture needed – keeps the dust-humidity film from building up and means your occasional proper cleaning stays as quick and gentle as possible. Keep a dedicated microfiber cloth near the TV so it’s accessible without a search mission. And establish a loose household rule about touching the screen, because the number one way to keep a TV screen clean is to have slightly fewer fingerprints on it in the first place.
No judgment on the pointing. I do it too.